There are a lot of unmatched feelings in this world, and one of them is finally getting a brand-new pair of soccer cleats, just like your favorite soccer player’s.
If you have been playing soccer for years and have worn many pairs of different soccer cleats, you’d know that the new cleats aren’t as comfortable in the beginning as they become later. You need to break your cleats.
If you don’t know how to break in soccer cleats fast, you’ll need to wait for some time to take them into the battlefield (playground). In this article, we’ll take a detailed look at how you can break in your soccer cleats fast, step by step.
How To Break In Soccer Cleats Fast?

While watching soccer matches, you may have thought, how are these players running on the field with such ease and efficiency? Why don’t they get blisters or something?
Honestly, these professional soccer players have excellent assistance from many manufacturing companies. These organizations provide them with cleats and other gear of their liking to maximize their performance in the game, but what about you?
However, that’s just one factor. Even professional players have to break in their soccer cleats using different techniques. Let’s talk about a simple and efficient technique, step by step.
1: Choose The Correct Sized Soccer Cleats:

The first and most obvious step is choosing what size fits you the best. To determine that, you need to consider three things: a) the weather, b) your feet, and c) the ground surface.
Moreover, you can get fancy soccer cleats, but to an extent. However, fashion should not be your focus while buying cleats. It should be on the factors mentioned above.
2: Choose The Appropriate Cleat Material:
The design and material of your soccer cleats go hand-in-hand with your shoe size. Some designs may not be appropriate for specific shoe sizes, and vice versa.
Anyways, while choosing the correct cleat material, you need to be sure whether you’ll keep these cleats for some time or replace them soon.
Considering you have a budget and prefer to keep your cleats for some time, you should go for leather or any other synthetic fiber material. It will set you up for some time.
Remember, there’s no problem in buying soccer cleats online if you’re sure of your foot size. Nonetheless, it is recommended that you should go to the store to try them on to be certain.
3: Use Good Insoles For Your Cleats:

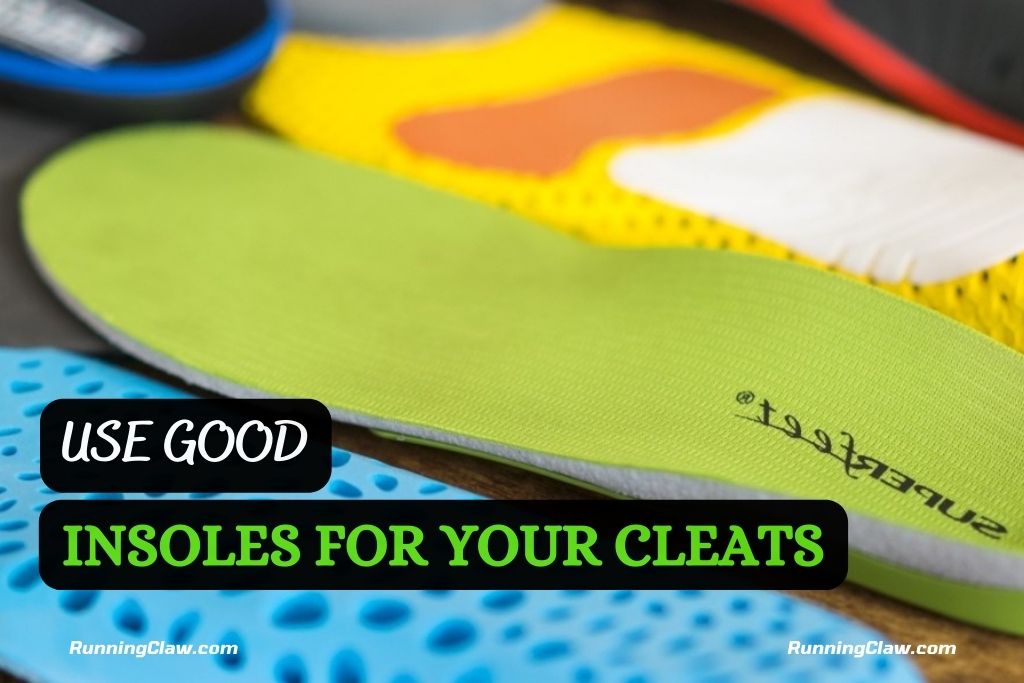
One of the most important steps to break in soccer cleats fast is using good insoles in your cleats, custom-made, ideally, so that they can adjust themselves with your feet and vice versa.
Most of the break-in time is spent on the insole factor. And, if you are lucky, you might find the correct insole that perfectly fits your feet. It will decrease the break-in time by a margin.
Remember, the whole breaking-in soccer cleats process takes around 2 or 3 days if you do everything right. Choose the correct material, have enough willpower to do it and wait, and use the right technique.
Furthermore, if you already have a pair or two of your older cleats, you can take out their insoles and fit them in the new ones, then fit the new insoles in the old ones. This way, you will also reduce the processing time.
4: First Try: Walk Around Wearing Your Cleats:
After finding the correct size, material, and insoles to fit in your cleats, it’s time to take the first test to start the breaking-in process.
Simply wear your cleats, lace them up (try lacing them relatively loose for flexibility), get ready, and go for a park walk.
Walk for around 10 to 20 minutes, and as soon as your cleats adjust and expand, tighten your laces to the point they feel comfortable and fit.
After the walk, take off your cleats and rest for a while. Soon, you will feel like your soccer cleats are breaking in and adjusting to your feet faster.
Then start making different movements, like running, jumping, sudden direction changing, and turning to test them completely.
Remember to wear socks while going out to quickly put your feet in and out of your cleats (if they are laceless) and possibly prevent blisters.
Also, I’d advise you to have an extra pair of shoes with you so that after this breaking-in process, your feet can feel normal and at home again, because sometimes, it can be a bit painful and can sore your feet.
That’s why taking a walk for around 10 to 20 minutes is recommended with the new soccer cleats. However, if you feel 20 minutes are too much, you can minimize it to whatever time you like.
5: Use Lubricants (Preferably Petroleum Jelly):
Using lubricants like petroleum jelly while wearing and taking off your cleats reduce the risk of your feet getting blisters.
After you have taken the first test on the first day, it is time to increase the load, and you can take them to your training sessions to adjust them properly for the upcoming game.
Try to do all kinds of exercises like jumping, running, kicking, and rapid maneuvers while wearing these new cleats to fasten the breaking-in process.
Remember to bring the other pair of shoes with you to relax your feet after some time. Applying petroleum jelly or any other lubricant to your feet and inside the cleats makes it easier to wear and take them off.
6: Stretch The Upper Area Of Your Cleats:

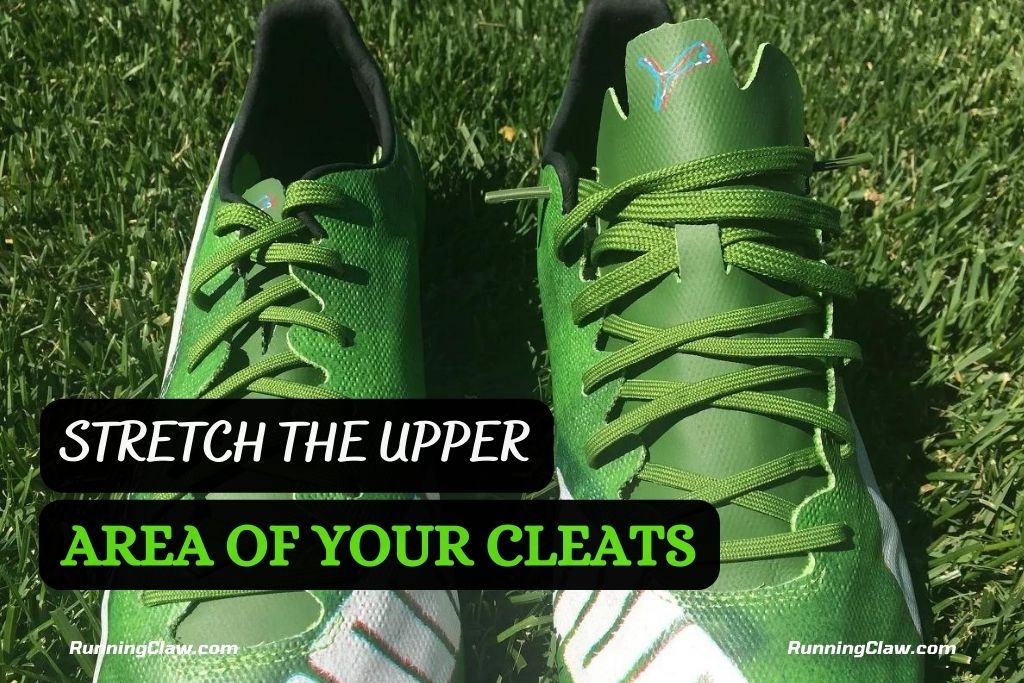
The upper area of your cleats is the cover on your toes, fingers, and almost all of the upper foot. Mostly, the upper side is made up of synthetic fiber and fabric.
It is essential to stretch the upper of your cleats to ensure more flexibility but to an extent. If you overdo it, you might loosen your cleats too much.
You can use your hands and feet to stretch the upper, which is the most common and reliable way. You can also use stretch spray for the purpose.
Or you can use warm water to stretch it. But remember, this warm water technique is most suitable for leather cleats; it may do some harm to cleats with other materials like plastic or rubber.
Anyways, boil the water to around 100 degrees F, wear your cleats, lace them up, and stand in that water for 5 to 15 minutes.
After that, step out of the water, and begin running and kicking to dry out the remaining water in your cleats. Then, take them off and let them dry for half a day.
7: Dry Your Soccer Cleats Appropriately:
This is the last step of the breaking-in process. After wetting or washing your soccer cleats, you must dry them out completely and correctly.
And you should repeat this process from time to time to keep the cleat fresh and healthy. To do that, use a clean, dry cloth to wipe out the remaining water.
Don’t tie the laces too tight; loosen them to make them more exposed to air to dry out. You can also remove your cleats’ insoles until they dry up completely.
Then put them somewhere they are mostly exposed to sunlight (if it’s daytime) and air.
FAQs:
Does Showering In Cleats Break Them In?
Yes, it does. If you have good leather cleats, you can shower with them, and they will get more flexible and adjust to your feet.
Do Cleats Hurt At First?
Yes. When you buy brand-new cleats, and you haven’t broken them in yet, you may get sore feet after wearing them, up to a point both your feet and cleats get adjusted with each other.
How To Break In Soccer Cleats Without Getting Blisters?

Try wearing comfortable socks with the new cleats. Take off the new yet-to-be-broken-in soccer cleats after 10 to 20 minutes every day. Use lubricants.
Conclusion:
Now that you have made it this far, I’m sure you have learned how to break in soccer cleat fast in several simple steps.
Apply this technique while breaking in your new soccer cleats, and you’ll be fine. Thanks for reading.


